World-Link Communications Starlink Satellite Internet

Enjoy uninterrupted internet access in remote areas with Starlink’s satellite technology.

ORDER NOW

Starlink Satellite Internet

Enjoy uninterrupted internet access in remote areas with Starlink’s satellite technology.
ORDER NOW
Starlink Mini Kit

Fast Starlink Internet Services - Access & Security Solutions

Starlink uses a constellation of low Earth orbit (LEO) satellites (~540 km up), providing significantly lower latency (20–40 ms) and higher speeds (typically 100–200 Mbps) compared to traditional geostationary systems

Performance: Speed & Latency Reality Check

Speeds usually between 100–300 Mbps, latency 30–60 ms.

Occasional spikes—switching satellites can briefly increase latency to ~150 ms

Many say it’s great for gaming, streaming, and video calls; a few note intermittent disconnections, weather interruptions, or congestion

Starlink Mini Kit

Starlink Mini Kit
AC Dual‑Band

Starlink 4th‑Gen Mini Kit

Starlink 4th‑Gen Mini Kit

Fixed Residential Plans

Starlink Business

Starlink Maritime

How Set up Satellite Home Internet

Setting up Satellite Home Internet in the USA is straightforward, especially with providers like Starlink, Viasat, and HughesNet. Here’s a complete guide to get started:

Starlink Setup (Typical for Home)

  • Starlink Dish (aka “Dishy”)

  • Mounting base

  • Wi-Fi router

  • 75-ft cable

  • Power cable

mini

Step-by-Step Setup:

Create an Account
Go to starlink.com and enter your address. Place the order (hardware ~$599, service ~$120/month).
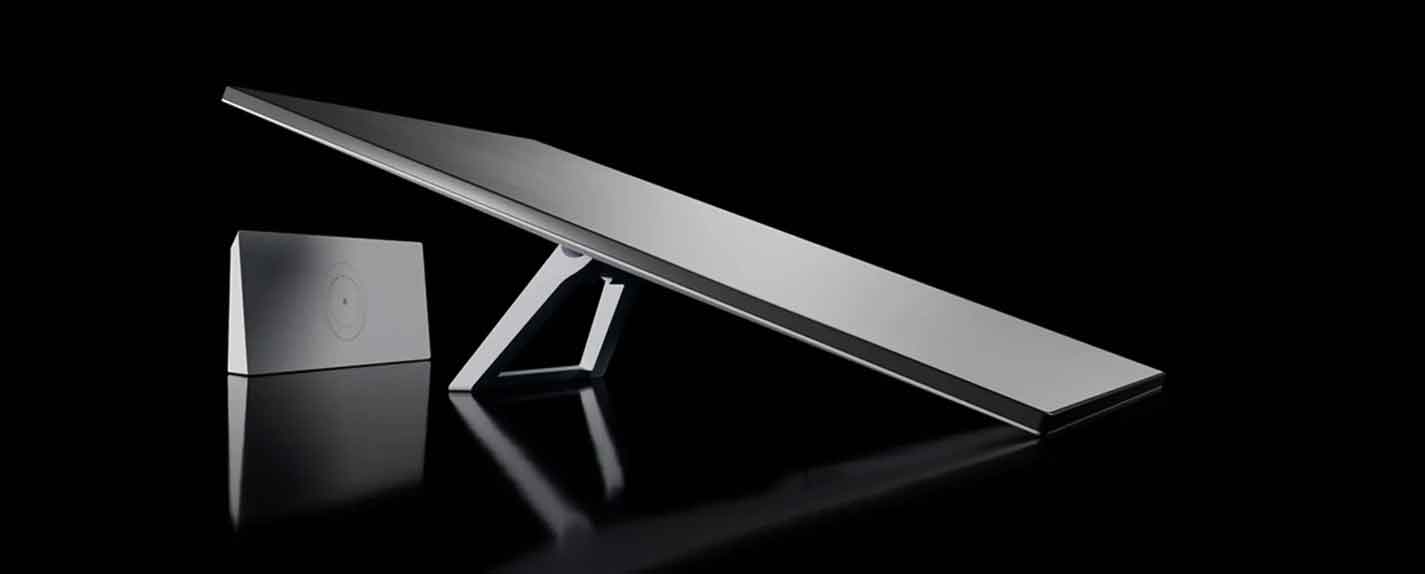
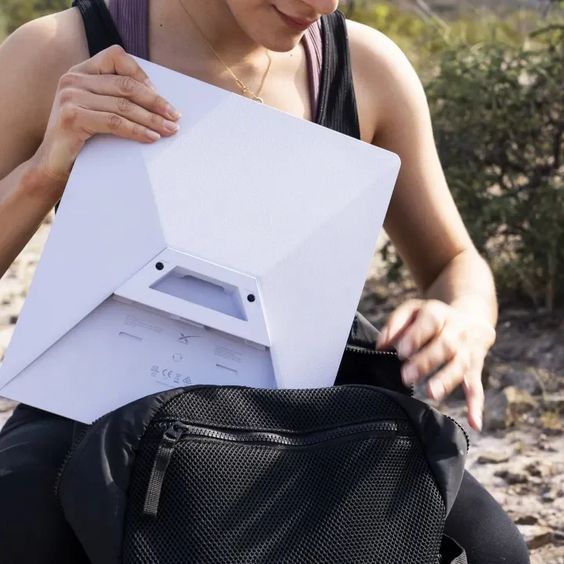
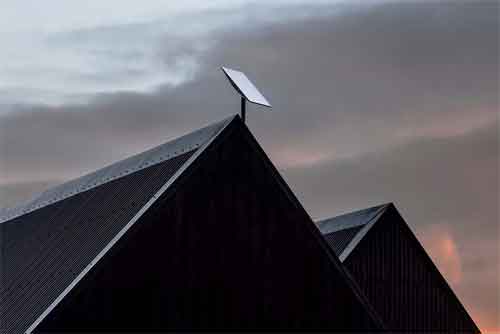
1. Install the Dish

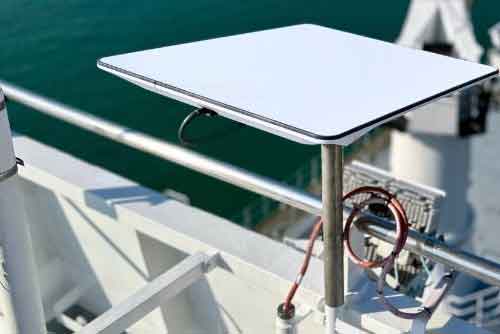
Find a clear view of the sky (roof, pole, yard).

Use the Starlink app to scan for obstructions.

Mount the dish using included base or an optional roof/pole mount.

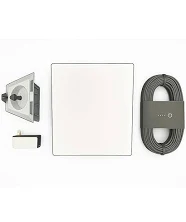
2. Connect the Cables

Plug the dish into the router with the included cable.

3. Plug the router into power.

Activate & Configure Wi-Fi

4. Use the Starlink app (iOS/Android) to name your network and set a password.

Wait 5–20 minutes for the dish to auto-align and connect to satellites.

5 .Test Internet

Speed test: Expect 50–200 Mbps.

Ping: 20–40 ms.

Works with streaming, Zoom, even online gaming (some latency spikes possible).

Common Starlink Installation Errors & Fixes

1. No Connection / “Searching” Message
Cause: Dish can't connect to satellites due to obstructions or poor positioning.

Fix: Use the Starlink app's "Check for Obstructions" tool. Relocate dish to a spot with 360° clear sky view. Avoid trees, poles, buildings—even small obstructions cause drops.
2. Starlink App Shows “Offline”
Cause: Dish is powered but not connecting, or cable is loose.

Fix: Check power supply (router + dish connection). Re-seat both ends of the dish cable (in dish and router). Restart the router (unplug for 15 seconds, then plug back in).
3. Router Blinking White or Amber Light
Meaning: Blinking white: Connecting to satellites. Amber: Firmware updating.

Fix: Wait up to 20 minutes after powering up. If it stays stuck, restart the whole system: unplug everything for 1 minute, then reconnect.
4. "Starlink Disconnected" in App
Fix: Ensure the cable from the dish to the router is fully inserted.

Inspect for bent pins or frayed wires.

Try another power outlet or test with a known-good USB-C charger (for Starlink Mini).
5. Slow or No Internet Despite Good Signal
Possible Causes: Obstructions (trees, structures) Network congestion Firmware needs update
Fix: Use the app to verify signal quality. Restart the system via the Starlink app → Settings → Reboot. Let it run for 24 hours to auto-update firmware.
When to Contact Support
Reach out to Starlink Support if: Router shows solid red light (hardware issue).
App says “Motors stuck” or “Thermal Shutdown.”
Dish not physically moving during setup.
Cable visibly damaged or frayed.